Showing posts with label Maharashtrian. Show all posts

Sunday, August 30, 2009

Mango Sheera


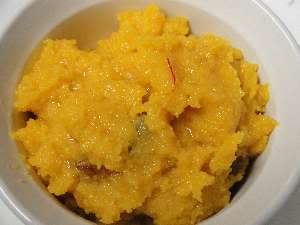
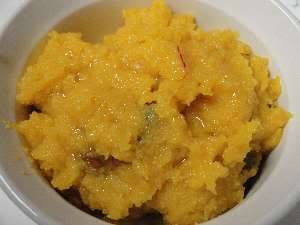
This is a delicious variation of the regular sheera using alfonso mango pulp. Mango Sheera or Mango kesari makes for a delicious dessert and can be served warm or cold depending on your preference.

Ingredients

1 cup coarse sooji
2 cup milk
1 cups alfonso mango pulp
1 cup sugar
2 tea spoon ghee / unsalted butter for roasting sooji
2 tea spoon ghee to add at the end
2 tea spoon chopped nuts of your choice (cashews, almonds, walnuts) (optional)
Few strands of saffron
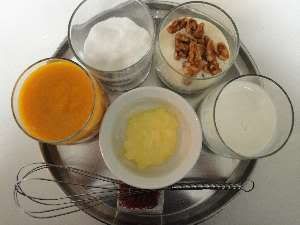


Method

Microwave couple of table spoon of milk till warm and add in the saffron strands to let them soak. 
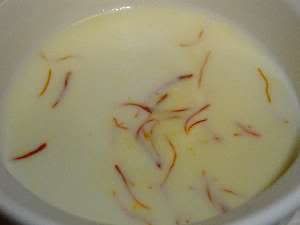


In a vessel place milk for heating with a tablespoon of water added to the milk. If you are using nuts you cann add them here to boil if you dont like them too hard. I added a few candied walnuts today because i had them on hand.

While the milk heats, in a different pan heat ghee slightly and on medium heat lightly roast sooji till it gets a faint pink color. I like to use a egg beater for making sheera. It helps so much in avoiding formation of lumps and because of its wireframe structure, stirring the thickening sheera also takes very little effort. Over roasting sooji till it browns will prevent the sooji from cooking and coming together with mango pulp.
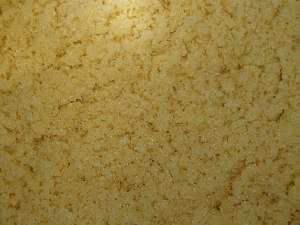


When the milk is hot and almost close to boiling, add the milk to the pan with roasting sooji. This will immediately start cooking and evaporating really fast. So lower the heat and as you whip the mixture with egg beater add the mango pulp, stirring continuously. 
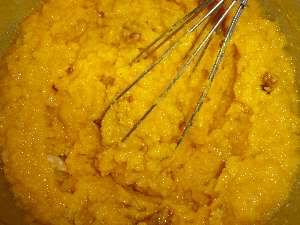
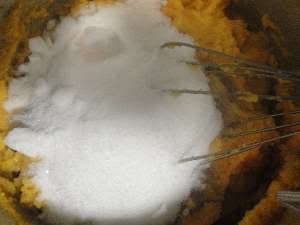
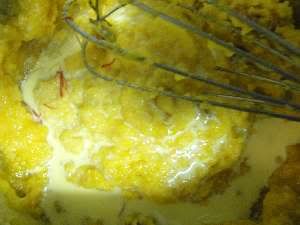
Cook for a bit and add sugar, cardamom powder and soaked saffron milk.

Cook on low for a little while stirring with egg beater. When cooked, add some ghee and stir. Adding ghee at the end after cooking is over will keep the sheera soft and bring a rich flavor without using relatively huge amounts of ghee.


Variations

You can add some chopped mangos or pineapples to top the sheera.

Calories


Wednesday, August 26, 2009

Fried Garlic Chutney


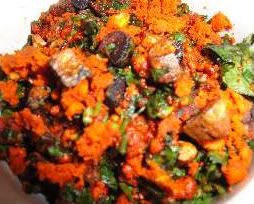
I learnt this from a very good friend. This is different from the maharashtrian garlic chutney which is made with crushed garlic, ground peanut and coconut. This is a great side for rice, chapati, khichadi and has a very bold and strong garlic flavor. This becomes a treat for garlic lovers.
Ingredients

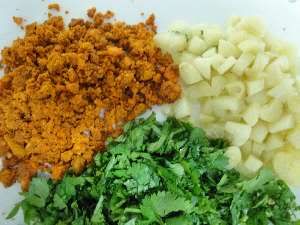
16 big peeled garlic pods
5 tablespoons ground peanut powder / chutney.
1 tablespoon oil
1 tsp red chilli powder (not required if you use ground peanut chutney)
salt per taste
1/2 cup chopped cilantro


Method

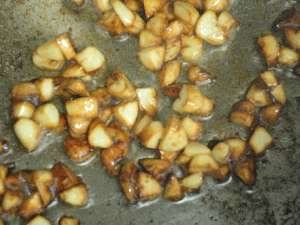
Chop Garlic pods into fairly large pieces. The strong flavor of this chutney comes from chewin large pieces of garlic.

Heat oil in a pan till its hot enough to fry garlic and brown it. Add garlic pieces and sautee them till they are browned on all sides. They will get crispy when cooled down.


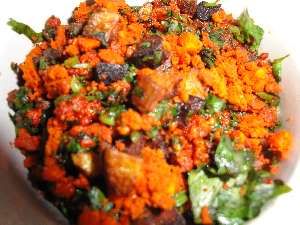
Add peanut powder, salt, red chilli powder (or peanut chutney which is nothing but a mixture of the same). Turn off the heat and add chopped cilantro and mix. Serve as a side.


Variations

You can add some chopped spring onions to garlic after it has browned to increase the volume of the chutney.

Calories


Saturday, April 18, 2009

Thalipeeth


Thalipeeth is a Maharashtrian (Western Indian) flat bread prepared on stove-top non stick pan or iron skillet. It is made from flour of variety of roasted lentils, legumes and wheat. It is very healthy and can be prepared with very little oil. It is served with yogurt, pickle or chutney's on the side.

Ingredients

1/2 packet K-Pra Thalipeeth Bhajani (Roasted Lentil Flour)
1 tea spoon red chilli powder (optional)
1/2 tea spoon turmeric powder (optional)
salt per taste
1 cup chopped spring onions
1/2 cup chopped cilantro
Non stick cooking spray / oil / ghee


Method


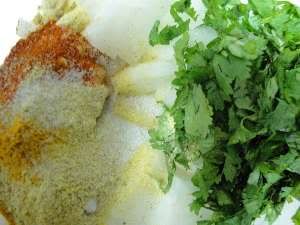
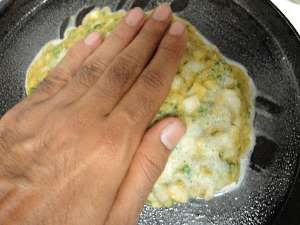
Mix Bhajani, red chilli powder, turmeric powder, chopped spring onions and cilantro. Add some cold water, little at a time to form a wet, formable dough. Remember that the bread is not formed by rolling or stretching but by patting the dough on the pan with your palm.


If you are using electric stove, turn it to maximum setting without the pan on top till the filament glows bright red.


Apply some cooking spray to a big non stick pan. Place the ball of dough on the center of the pan, and wet your hand while being off the cooking range.


Slowly press down the dough in small pats, repairing the edges together after every few pats. You should not form the bread in one single pat of palm but many gentle pats, to slowly and evenly expand the dough around in the pan.Create a small hole at the centre and pour some oil or ghee. This is to stop the bread from sticking to the pan at the centre and make it easier to come off the pan when cooked without breaking.


Now Place pan on the heated stove and cover the pan.


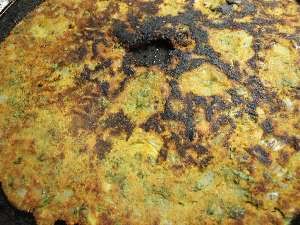
Cook on high till the oil in the center of flatbread is absorbed, then turn the heat to medium and continue to cook covered. Do not attempt to loosen the flatbread or flip it till the bottom side is done nice and hard, else you will most certainly break the bread.

After the bottom side is done, slightly loosen the flatbread from the sides and give the pan a bit of shake. This will free the flat bread off the pan. Flip, and cook covered on medium till the other side is done.


If you like it slightly crispy flip again and cook uncovered according to preference.

Serve with 0% Fage Yogurt for a low calorie yet very filling meal.


Variations

You can add any of spring onions, grated radish, cabbage, leftover daal, coarse ground peanuts, thin garlic slices to the flour to create your own Thalipeeth.


Calories